
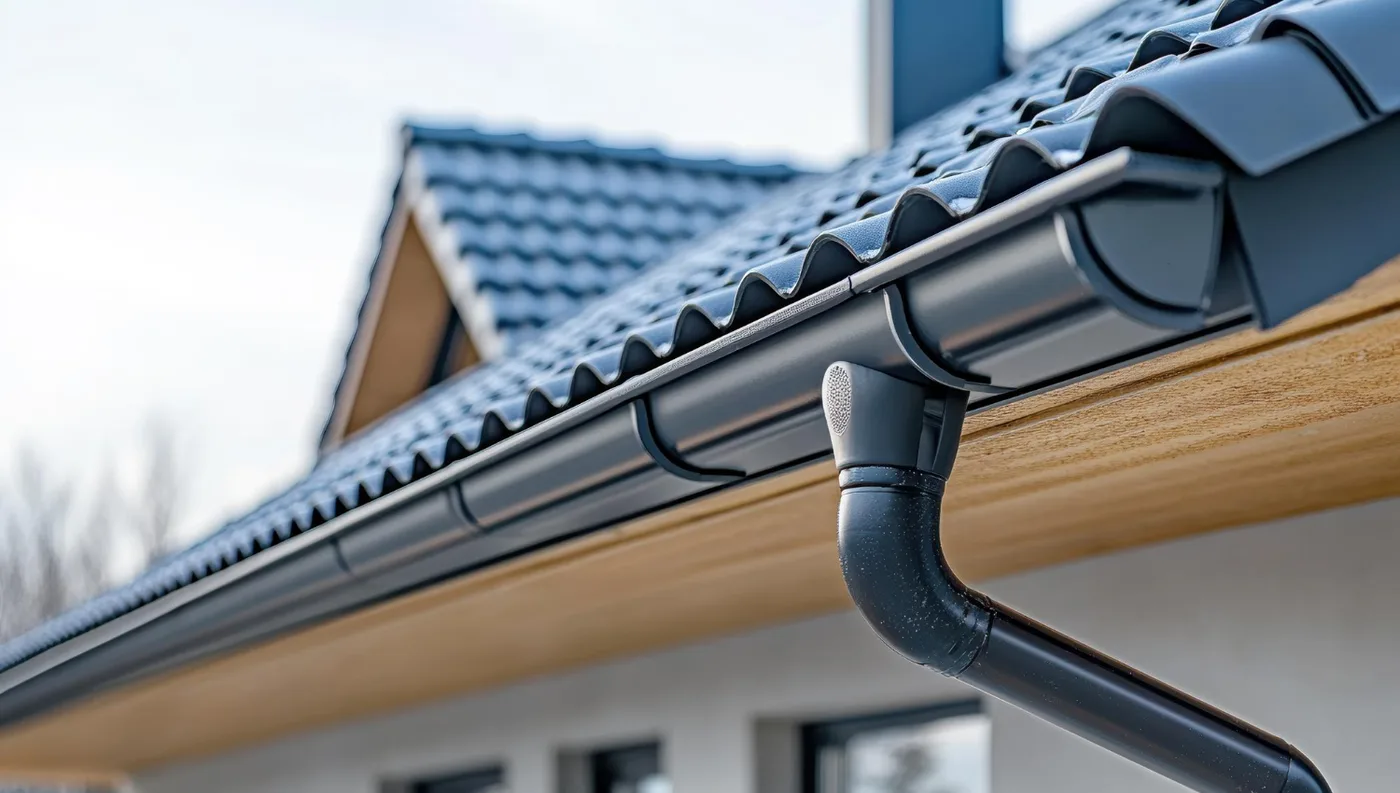
Seamless gutter installation for effective drainage
Seamless gutter installation for effective drainage protects your roof and foundation and keeps water where it belongs. It reduces leaks, prevents water damage, and boosts curb appeal and home value. Here are clear tips on materials, downspout placement, slope, and maintenance to keep your gutters flowing.
Key Takeaway
- Choosing seamless gutters reduces leaks.
- A slight slope helps water move to downspouts.
- Sufficient downspouts ensure quick drainage.
- Sturdy hangers keep gutters stable.
- Regular cleaning prevents clogs.
Benefits of seamless gutter installation for effective drainage
Seamless gutter installation for effective drainage helps your home manage rainwater efficiently. Fewer joints mean fewer leak points, so water is less likely to run behind siding or into the foundation. Expect smoother water flow, fewer drips on siding, and simpler maintenance with fewer places for dirt and debris to catch.
With seamless gutters, you gain continuous protection along the roofline. The design reduces rust and corrosion at joints, lowering long-term repair needs. The look is cleaner and less obtrusive, which can boost curb appeal. Proper drainage also preserves landscaping by preventing soil erosion and washouts during heavy rain.
Quick tip: Have a professional measure your roofline and tailor gutter length to maximize the seamless effect.
Reduce leaks and water damage to your home
Seamless gutter installation for effective drainage minimizes leaks by reducing joints. Fewer weak points mean less water behind siding and near the foundation, cutting the risk of cracks and basement moisture. It also protects fascia and soffit from water damage, keeping maintenance costs down and interiors drier.
Proper drainage guides rain away from your home’s base, protecting mulch beds and flower borders from erosion. It’s all about directing water away from your house and plants.
Improve your curb appeal and home value
A seamless gutter installation for effective drainage updates your home’s exterior with a clean, continuous line along the roof edge. Buyers notice the modern look and sensible maintenance, which can influence selling or refinancing decisions.
Beyond appearance, sturdy drainage supports higher home value by protecting siding, foundation, and landscaping. If replacing old gutters, choose colors that match trim for a cohesive exterior.
Best seamless gutters for rainwater management
You want rainwater to go where it should, not splash onto siding or pool by the foundation. Seamless gutters reduce leaks by minimizing joints, and the right system fits your house and climate to route water efficiently to downspouts.
Profiles vary, but a rounded gutter is easy to clean. For trees shedding leaves, a slightly deeper trough helps capture more water and slow debris. Prioritize robust hangers and a secure mounting system, especially in windy areas. Consider powder-coated finishes to resist chipping and fading.
- Long-term savings come from solid hardware and proper slope from the start.
Aluminum gutters: light and rust-resistant for your house
Aluminum gutters are popular for being lightweight and rust-resistant. They’re easy to install, friendly to aging fascia boards, and affordable. Thicker aluminum can resist dents, and color finishes stay true. Fewer joints mean fewer leak points, and maintenance is simple—rinse and scrub to keep water flowing. For coastal or harsh climates, choose anti-corrosion coatings. Aluminum is budget-friendly and suitable for most homes.
Copper and steel options offer long-term durability
Copper gutters provide a classic look and excellent longevity, aging to a patina. They resist corrosion well but come with a higher upfront cost and potential repair expenses. Proper installation matters due to expansion and contraction with temperature changes.
Steel gutters are strong and handle tough weather. Galvanized steel or stainless steel options exist, with stainless offering the best rust resistance. Steel is heavier, so mounting must be solid. Some coatings can wear over time, so ongoing maintenance is important. Steel can be a solid choice for a long-lasting system.
Compare seamless aluminum gutter installation options
- Aluminum gutters are typically the most affordable option for seamless systems.
- Quick installation and minimal structural work required.
- Lighter weight, making DIY-friendly projects feasible with professional slope and sealing.
| Material | Weight | Durability | Maintenance | Cost (rough) |
|---|---|---|---|---|
| Aluminum | Light | Good | Minimal; rinse periodically | Low to moderate |
| Copper | Moderate to heavy | Excellent; ages beautifully | Occasional cleaning; patina evolves | High |
| Steel | Heavy | Very strong; best for harsh climates | Coating check and possible touch-ups | Moderate to high |
- If you expect heavy weather or are replacing gutters on an older home, steel or copper may be worth the extra investment for peace of mind.
How to install seamless gutters for drainage
A practical, no-nonsense approach helps you achieve sturdy, long-lasting results. Start by measuring stretches and planning the slope so rain runs off efficiently. Mount hangers first, then slide in the continuous gutters to cradle the roof edge securely. Test the flow and seal joints to keep water away from siding and foundation.
Measure your fascia and plan the slope
Measure along the entire roof edge to determine gutter material needs. Note any corners, dips, or rises. Plan a constant slope to move water toward the downspout. A good rule: about 1/4 inch of slope per 10 feet of run, adjusting for roof size and local rainfall. Mark the slope direction on the fascia with a chalk line to stay steady. For long runs, break into sections with hidden joints to keep the gutters balanced.
Pro tip: Double-check protruding nails or old screws along the fascia to avoid interference when sliding in seamless panels.
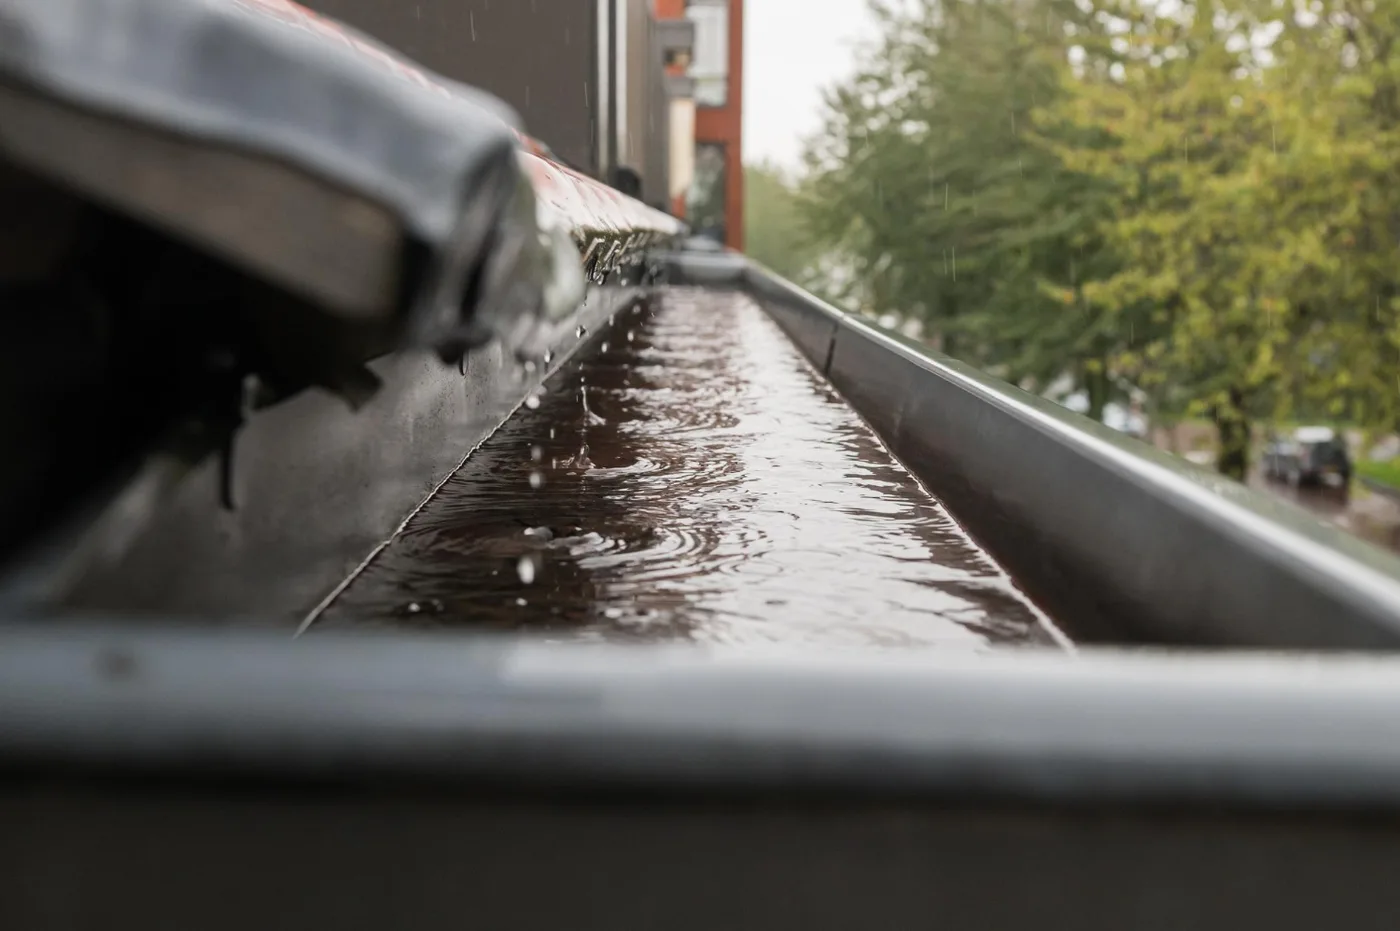
Mount hangers and attach continuous gutters securely
Place hangers along the fascia at regular intervals (typically every 24 inches). Add extra hangers near corners or where the roofline changes direction. Pre-mark hanger positions to maintain alignment on the ladder.
Secure hangers firmly and evenly, then slide the gutters into place. If using hidden hangers, ensure the gutter sits flush with the fascia and maintain a consistent slope. Attach with recommended sealants or fasteners to keep a clean look.
If there are multiple sections, butt or connect with couplers, ensuring seams align with the slope to prevent water from climbing uphill. Keep the run straight and free of kinks.
Test flow and seal joints after installation
Test with a hose to confirm flow. Look for sagging or standing water and adjust hangers as needed. Seal joints with the manufacturer’s recommended sealant and wipe away excess.
Ensure downspouts are securely connected and directing water away from the foundation. If water splashes back toward the wall, extend downspouts or add splash blocks.
Table: Quick setup checklist
| Step | What to do | Tips |
|---|---|---|
| Measure fascia | Mark lengths and slopes | Use chalk line for accuracy |
| Plan slope | 1/4 inch per 10 feet | Adjust for local rain load |
| Mount hangers | Space every 24 inches | Keep gutters level |
| Attach gutters | Slide into hangers | Don’t overtighten fasteners |
| Seal joints | Apply manufacturer sealant | Wipe excess clean |
- Keep a simple plan: consider a contractor-grade kit that fits your gutter length to stay consistent and avoid gaps or misalignment.
Seamless gutter downspout placement and sizing
Downspout placement and sizing are crucial for effective drainage. Visualize the water path: gutters collect, downspouts carry, extensions push it farther, and elbows steer it away from pests and dirt. Place downspouts to prevent overflow on any section, ideally on each side of the house for larger roofs, with even spacing to distribute the load.
Pro tip: Map your roof’s drip line and plot downspout locations that align with natural water flow away from the home.
Calculate downspout size for your roof area
Estimate roof runoff during heavy rain to size downspouts. For a typical home, 2×3 inch downspouts handle moderate storms; larger homes or areas with intense rainfall may require 3×4 inches or multiple downspouts. A simple approach: multiply roof area (sq ft) by rainfall intensity (in/hr) to get a rough volume, then compare with the downspout capacity. If unsure, go larger or add more downspouts.
Two common sizing methods:
- Basic: a single downspout drains about 600 sq ft of roof per inch of rainfall per hour, with adjustments for gutter size and elbows.
- Practical: for most single-story homes, two 2×3 downspouts per 600–800 sq ft of roof handle typical rain events; add more for steeper roofs or heavy rainfall zones.
| Roof area (sq ft) | Typical downspout size | Notes |
|---|---|---|
| Up to 600 | 2×3 in | Standard for small homes |
| 600–1200 | 3×4 in or multiple 2×3 | Medium homes or heavy rain regions |
| Over 1200 | Multiple downspouts or 3×4 in | Large homes or extreme rainfall |
If your roof is irregular with many corners, you’ll likely need extra downspouts or staggered placement to avoid bottlenecks.
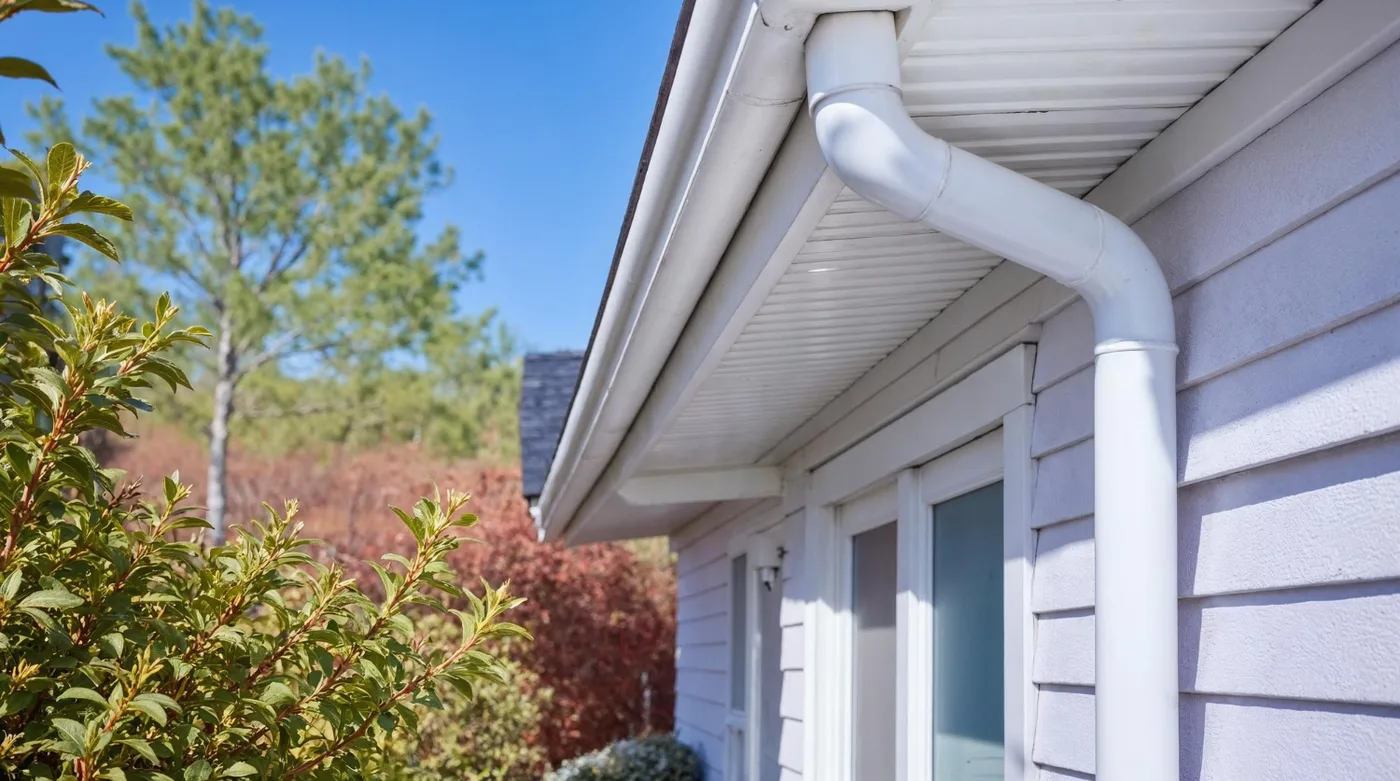
Place downspouts to protect your foundation from runoff
Position downspouts so water lands at least 5 feet from any foundation wall. On narrow lots, discharge toward a lawn or landscaped bed rather than a driveway. Avoid clustering multiple downspouts at a single corner; spread them along the fascia to distribute water evenly. If soil is clay-heavy or the ground slopes toward the house, extend downspouts with longer elbows and splash blocks or a trench drain to guide water farther away.
- Use splash blocks or extensions to prevent soil erosion.
- For driveways or walkways, bury elbows and pipe with a gentle slope to reduce splatter.
Use elbow fittings and extensions for proper discharge
Elbows redirect water away from the siding; extensions push the outlet farther from the wall. Choose corrosion-resistant materials and aim for a gentle, continuous slope away from the foundation. Install elbows at the bottom of the downspout where it meets the ground or an extension pipe, so rainwater doesn’t run back toward the house. Keep extensions clear of mulch, soil, or grass.
Quick fit tips
- Use right-angle elbows for tight spaces and 45-degree elbows for longer runs.
- Use pre-sloped extensions to avoid standing water near the foundation.
- Secure extensions and elbows with corrosion-resistant fasteners.
A little extra length on extensions pays off during heavy rains — it reduces splashback and keeps your foundation dry.
Gutter slope pitch for optimal drainage
A proper gutter slope is the simplest way to move water away from your home. Small changes in angle can dramatically reduce water backup or overflow. If installed with care, gutters channel water efficiently, protecting siding, foundation, and landscaping. DIY-friendly, as long as you double-check measurements.
- The right slope provides peace of mind and steady drainage.
- Practical steps help you verify your pitch during and after installation.
- Aim for 1/4 inch per 10 feet of run
- For long runs or heavy rainfall, consider increasing pitch slightly to push water faster
Increase pitch for long runs and heavy rainfall
For longer runs or frequent storms, adding about 1/8 inch per 10 feet can help. Be mindful that too steep a slope can cause splashback or noisy downspouts. Test by running water along the gutter and observing flow toward the downspout.
Maintenance tips for seamless gutter drainage
Ongoing maintenance keeps water flowing and protects your home from damage. Regular cleaning, guard inspection, and flow testing extend the life of your system.
- Clean debris at least biannually and after major storms.
- Inspect leaf guards for gaps or damage; fix or replace as needed.
- Run water after cleaning to confirm smooth flow; tighten or replace sagging hangers as needed.
Maintenance tips
- Set a monthly reminder to check gutters after storms or high winds.
- A quick flow test confirms your gutters are functioning, not just looking good.
Clean debris regularly and inspect leaf guards for your gutters
Remove leaves, dirt, and debris from gutters with a sturdy ladder and gloves. Check leaf guards for gaps or damage; a loose guard invites clogs. After cleaning, test flow with a hose to detect clogs or sagging sections. Address rust, cracks, or warped sections promptly.
Tip: Keep a small toolkit and bucket for quick fixes.
Know when to call professional seamless gutter installers near me
If persistent leaks, gutter detachment, or sagging occur, or if clogs are complex, consult professionals. They can design a custom solution, verify slopes, and install with warranty coverage.
Tip: Ask for leaf guards designed for your local trees and weather.
Schedule inspections and custom seamless gutter system design
Annual inspections help catch problems early. A designer can tailor layouts to your roof, eaves, and landscaping, improving flow and protecting your home’s foundation.
Maintenance tasks at a glance
- Debris removal: Biannually or after storms
- Leaf guard check: Quarterly
- Flow test: After cleaning
- Sag or leak repair: As needed
Engagement note: A quick flow test after cleaning confirms your gutters are doing their job, not just looking pretty.
Conclusion
Seamless gutter installation for effective drainage protects your roof, siding, and foundation. By maintaining a consistent slope (target about 1/4 inch per 10 feet), ensuring adequate downspouts, and using sturdy hangers, you direct water away from your home. Regular maintenance—cleaning debris, inspecting guards, and testing flow—extends your system’s life and preserves curb appeal and value. For materials, aluminum offers affordability and ease, while copper and steel provide long-term durability depending on climate and budget. If unsure, a professional can design a custom layout, verify slope, and install with a warranty for peace of mind. In short, a well-executed seamless gutter system is a smart upgrade that protects today and enhances value tomorrow.
Frequently asked questions
- What is Seamless gutter installation for effective drainage and why does it matter? You get one long piece that fits your roof edge, reducing leaks and preventing clogs to keep your home dry and safe.
- How long does seamless gutter installation take? Usually a few hours to a day, with cleanup when the crew finishes.
- How does seamless gutter installation protect your home’s foundation? It moves water away from the house, preventing floods, soil washout, and cracks, keeping the foundation stronger.
- Do seamless gutters need lots of maintenance? They require less maintenance than old-style gutters—clearing leaves a couple of times a year, with leaf guards reducing the work.
- Can you get different colors and sizes with seamless gutter installation for effective drainage? Yes. Colors and sizes can be matched to your home, with installers sizing and mounting on site to fit your roof.