
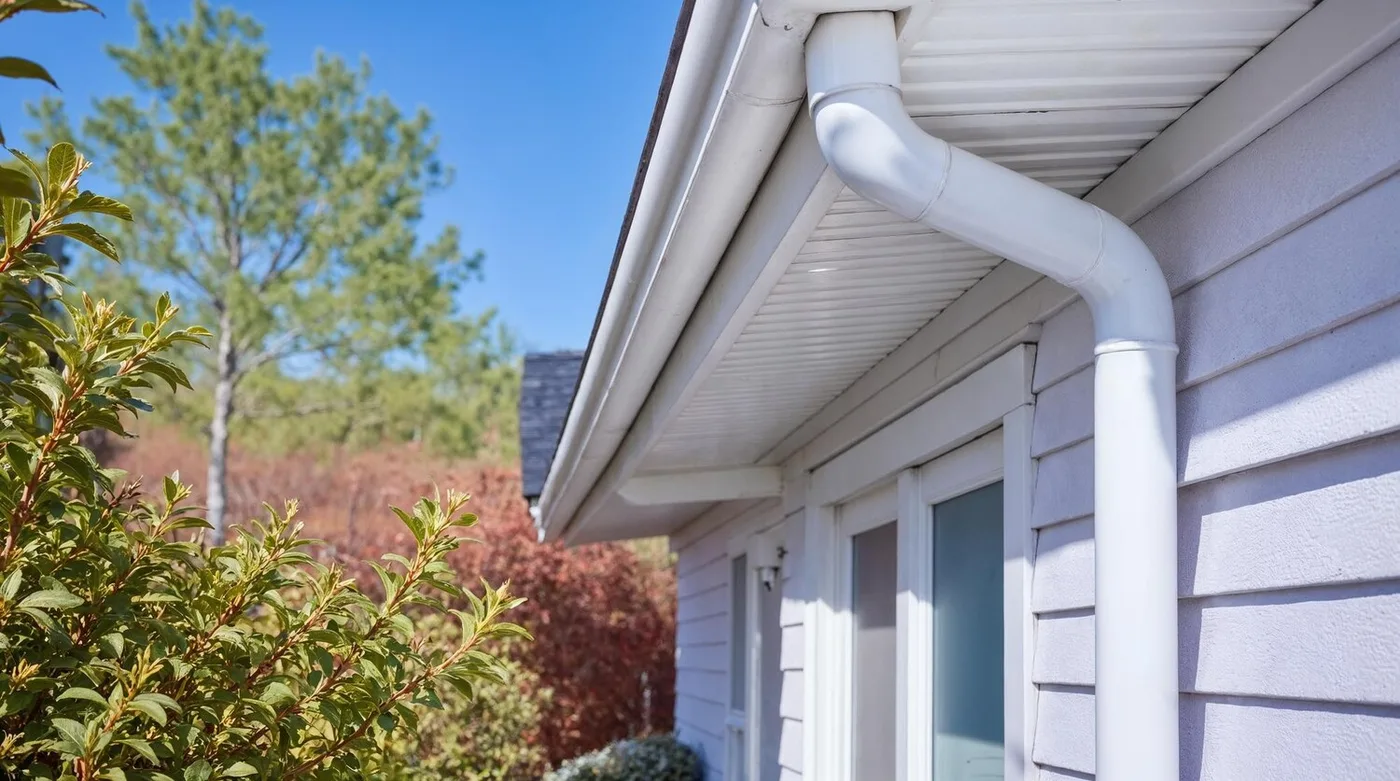
Gutter Installation Guide: How Professionals Ensure a Perfect Fit
You will learn how to measure and pick the right gutter size. Measure roof length, check roof runoff, and factor in local rainfall. Compare five‑inch and six‑inch gutters and choose the best material. Use simple tools and clear steps for accurate measurement. Set the correct slope, align hangers, and space them so water flows to downspouts. Seal seams, fit end caps, add flashing, and use guards to cut clogs. Follow a short seasonal inspection and maintenance plan to keep gutters snug and leak‑free.
Key Takeaway
- Measure and plan the gutter path first
- Set a slight slope toward downspouts (1/4″ per 10 ft)
- Place hangers often to prevent sagging
- Seal joints and corners to stop leaks
- Test with water and clear debris regularly
How you measure and pick the right gutter size with proper gutter measurement for perfect fit gutters
You want gutters that move water away fast and quietly. Start with basics: measure the eave length around your roof, note valleys and ridges, and check the roof pitch. Use the phrase Gutter Installation Guide: How Professionals Ensure a Perfect Fit as a mental checklist — pros plan capacity, downspout placement, and material up front to avoid headaches later.
Turn those measurements into real decisions. Long runs or steep pitches need greater capacity and more downspouts. Factor in nearby trees and debris — a big tree may push you to a larger size or a guard. Mark each run on paper, note where water concentrates, and plan for a gentle slope of 1/4 inch per 10 feet toward each downspout.
Finish this stage by choosing a size and material that fits your roof, budget, and climate. Small homes with light rain often do fine with standard options; big roofs or heavy storms call for larger systems. Keep your notes and add about 10% for waste to avoid last‑minute trips.
Measure roof length, roof runoff, and local rainfall to size gutters (gutter installation guide)
Measure the full length of every eave you plan to gutter. Walk the perimeter with a tape measure and write down each run in feet. Note roof pitch roughly as low, medium, or steep — steeper roofs shed water faster, increasing roof runoff. For a quick rule: more pitch means treat the roof area as larger when calculating water load.
Check local rainfall intensity — search your city’s storm data for inches per hour during heavy storms. Combine that with eave lengths and pitch notes to decide capacity. If you get short, heavy bursts of rain, favor larger gutters and an extra downspout.
Compare 5‑inch vs 6‑inch gutters and material choices for gutter sizing and selection
The classic choice is 5‑inch gutters — common, affordable, and suitable for many average homes. 6‑inch gutters step up capacity and are a better pick for large roof areas, long runs, or regions with strong storms. They also handle debris better and reduce overflow.
| Feature | 5‑inch | 6‑inch |
|---|---|---|
| Typical use | Smaller homes, light–moderate rain | Large roofs, heavy rain, long runs |
| Capacity | Good for most houses | Higher capacity, less overflow |
| Cost | Lower upfront | Higher materials & hangers |
| Debris handling | May clog sooner | Better at passing leaves / needs less maintenance |
Materials matter too. Aluminum is lightweight and rust‑resistant. Steel is stronger but heavier and can rust if finish fails. Vinyl is cheap and easy to install but may warp in heat. Copper looks great and lasts decades, but is expensive. Match material to budget, roof style, and how long you plan to stay in the house.
Tools and simple steps you use for accurate measurement
Use simple tools, take clear notes, and work in sections. Measure each run, mark downspout positions near corners or low spots, and add 10% for waste and mistakes. Double‑check valleys and steep areas because they concentrate water. If doing it yourself, have someone hold the tape at the far end.
- Tape measure
- Ladder
- Level or straightedge
- Pitch gauge or smartphone app for roof slope
- Chalk or marker to map runs on the fascia
- Calculator or notebook to total lengths
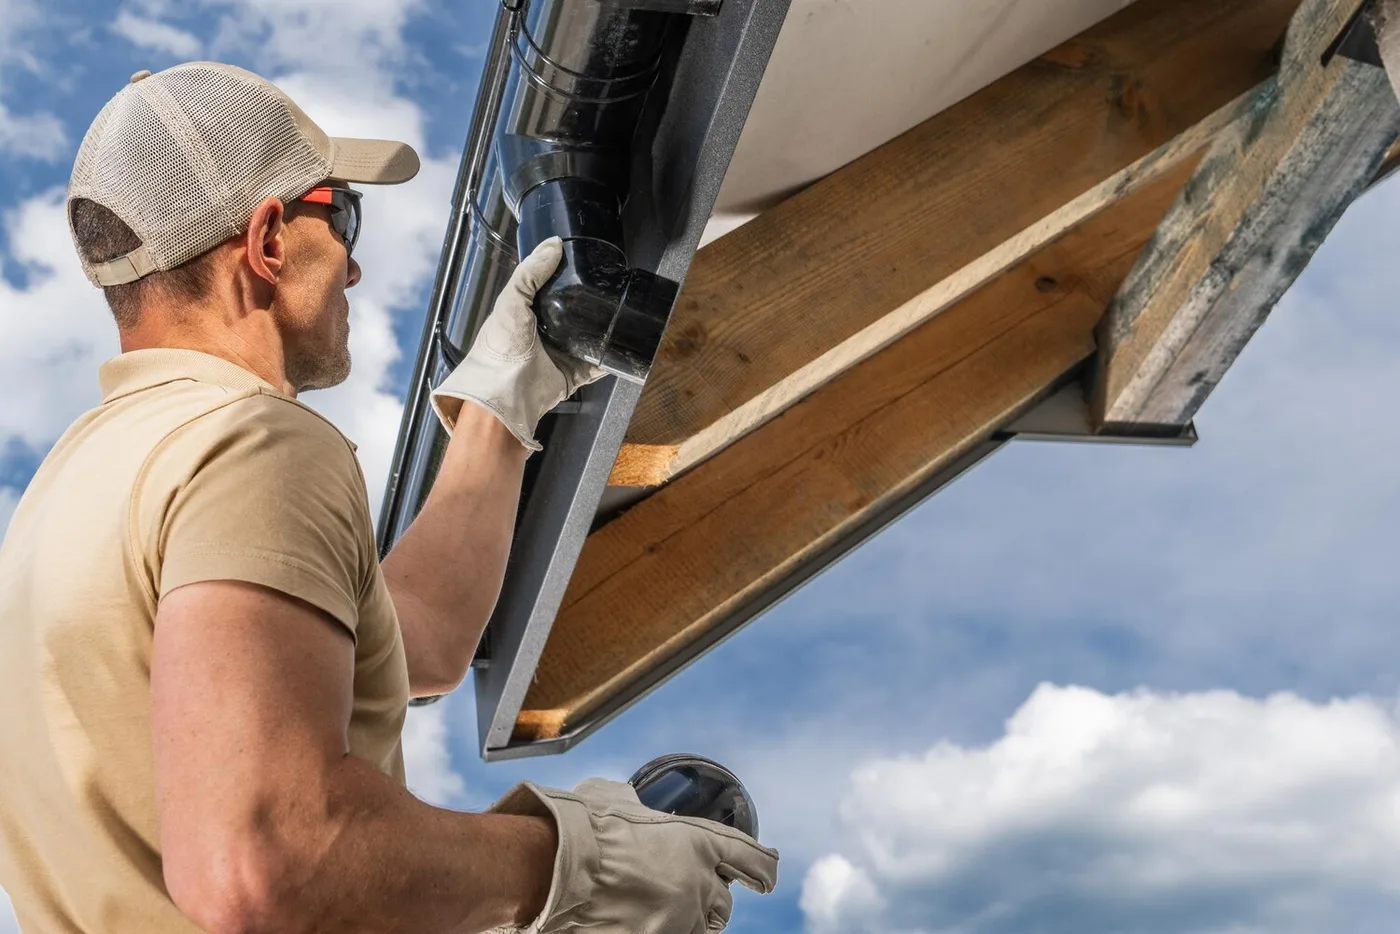
How you install gutters with correct slope, alignment, and hanger spacing for professional gutter installation
Start by planning the route from the roof edge to the downspout. Measure roof runs and mark the high point and the downspout location. Lay a chalk line or use a laser level to show the fall. A quick rule pros use is 1/4 inch of drop for every 10 feet toward the downspout. Plan, measure, and set the fall before you tighten any hangers — a core idea in this Gutter Installation Guide: How Professionals Ensure a Perfect Fit.
Check the fascia and rafter tails so your hangers bite into solid wood. Replace soft spots or sister a board if needed. Fix the first hanger at the high end and the last at the downspout, then snap the line between them. Work from those anchors and add hangers as you go to avoid sagging.
Test as you install. After the run is hung but before final sealing, pour water at the high end and watch it glide to the downspout. Adjust any low points, tighten fasteners, caulk seams, and reinstall shingles if you removed them. When it flows clean, the run is correct.
Set gutter slope and pitch so water flows to downspouts (gutter slope and pitch)
Set the slope so water never sits. Use a level or laser and measure the drop between the start and the downspout. Mark high and low points on the fascia and draw a guide line. The common pitch is 1/4 inch every 10 feet — enough to move rain without creating a steep slide.
For multiple downspouts, divide runs into sections and give each its own fall. Avoid long flat stretches and watch for sag at seams. Do a water test after each segment to catch low spots before sealing.
Space hangers and fasteners to support weight and prevent sagging (gutter hanger spacing, gutter alignment techniques)
Place hangers about every 24 inches for most systems and closer — 12 to 18 inches — in areas with heavy snow or debris. Start at the high end and work toward the downspout, keeping hangers on the chalk line so the trough keeps the planned slope. Add extra hangers at corners and near downspouts.
Secure hangers to solid wood with 600‑lb rated screws or rivets, not just nails. Check alignment often with a straightedge. If a fascia board is soft, add a backing strip so each hanger pulls on firm material and the gutter stays true.
Seamless gutter installation tips and how you handle joints to ensure a perfect fit
With seamless gutters, measure and cut on‑site to the nearest inch so joints are minimal. When joints are needed, use a slip connector with a bead of high‑quality silicone sealant and back the rivets with washers. Allow for thermal expansion by leaving a small gap filled with sealant. Always test with water after sealing.

How you prevent leaks and maintain your gutters so they stay a perfect fit over time
Think of the whole system: seams, end caps, flashing, downspouts, and guards all work together. Follow a clear installation approach and you’ll avoid the drip‑by‑drip problems that turn into rotten fascia and soggy landscaping. This is the practical promise of a Gutter Installation Guide: How Professionals Ensure a Perfect Fit — do the small things right and the system lasts.
Small gaps and bad overlaps cause most leaks. Use compatible sealants for your material, properly crimp seams, and fit end caps with screws and sealant. Flashing where the gutter meets the roof or siding is a low‑cost step that keeps water from sneaking behind the system.
Maintenance keeps the perfect fit from sliding off. Gutters expand and contract with heat and fasteners loosen over time. Inspect hanger spacing, confirm the pitch, and replace worn splash blocks or extensions. A little attention now avoids big repairs later.
Seal seams, use proper end caps, and add flashing to stop water leaks (preventing gutter leaks)
Use a high‑quality sealant made for your gutter material and apply it to clean, dry surfaces. Overlap seams correctly and fasten them with rivets or screws before sealing; sealant alone shouldn’t carry the load. For copper, soldered seams provide the best long‑term watertight joint. Wipe away excess sealant and let it cure fully.
End caps need a tight fit and secure fastening. Use screws plus sealant or rivets plus a quality gasket for aluminum caps. Install flashing under shingles or siding where the gutter meets the roof to prevent water from slipping behind the gutter.
Position downspouts and add guards to cut clogs and reduce maintenance
Place downspouts at low points along the gutter line and near roof valleys to carry heavy flows away quickly. Keep elbows to a minimum to avoid places where debris can snag. For long runs, add a mid‑run downspout so water doesn’t build up and stress seams.
Add guards that match your debris load: coarse screens for big leaves, micro‑mesh for pine needles. Guards cut the time you spend scooping gunk, but small debris still can pass. Combine guards with downspout strainers and easy clean‑outs so you can flush or pull clogs without ladders.
A simple inspection and maintenance schedule you can follow every season
Start each season with a quick check and a few targeted fixes so leaks and clogs don’t grow.
- Spring: Clean gutters, check for winter damage, test gutter pitch, and remove debris from downspouts.
- Summer: Inspect sealant beads and fasteners; trim overhanging branches.
- Fall: Clear leaves during peak fall; check guards and flush downspouts before freeze.
- Winter: Remove ice dams safely and check for frozen blockages; protect downspout outlets with extensions.
Conclusion
You’ve got the map now. Measure every eave, pick the right gutter size, and plan downspouts so water has a clear exit. Set the slope (remember 1/4″ per 10 ft), space strong hangers, and seal seams so leaks don’t sneak in. Think of the whole system as a team — gutters, downspouts, flashing, and guards — each plays its part.
Keep it simple with regular maintenance. Test with water, clear debris, and inspect fasteners seasonally. Small fixes today save big headaches tomorrow. When you follow these steps from this Gutter Installation Guide: How Professionals Ensure a Perfect Fit, your gutters will fit like a well‑made pair of shoes: snug, silent, and doing their job.
Want more tips and how‑to guides? Read more at https://www.ajguttersllc.com and keep your roofline in top shape.
Frequently Asked Questions
- What are the key steps in the Gutter Installation Guide: How Professionals Ensure a Perfect Fit?
You measure roof edges, pick the right material and size, set the correct slope, fasten hangers, seal seams, and test with water. - How do professionals measure for a perfect fit in the Gutter Installation Guide: How Professionals Ensure a Perfect Fit?
Measure roof length and downspout placement, check fascia depth, plan slope (1/4″ per 10 ft), and mark hanger spots. - What materials do pros recommend in the Gutter Installation Guide: How Professionals Ensure a Perfect Fit?
Aluminum for rust resistance, steel for strength, copper for looks and longevity; consider seamless gutters to reduce leaks. - How long will installation take in the Gutter Installation Guide: How Professionals Ensure a Perfect Fit?
Small jobs: 2–4 hours. Bigger roofs: 4–8 hours or more. Complex jobs may need a full day. - How do pros stop leaks in the Gutter Installation Guide: How Professionals Ensure a Perfect Fit?
Use tight seams or seamless sections, apply quality sealant where needed, install proper hangers and slope, and test and fix drips right away.